Planting Tips

Moraine Or Scree Gardens

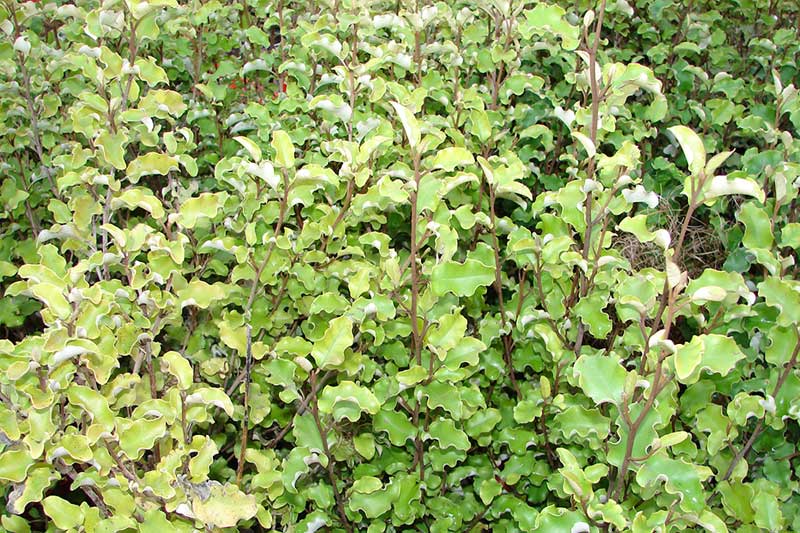
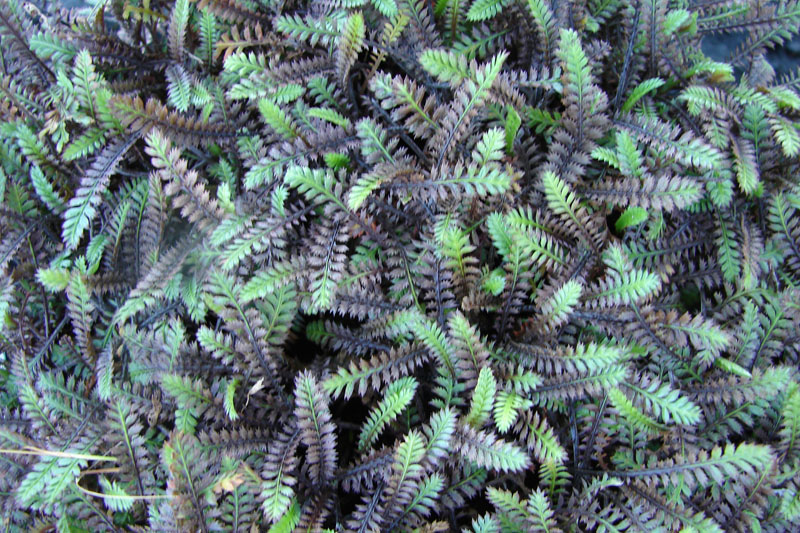
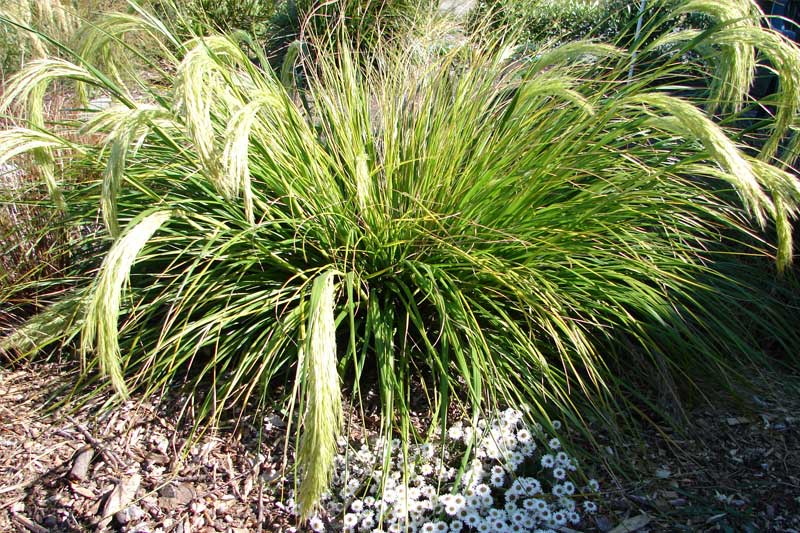
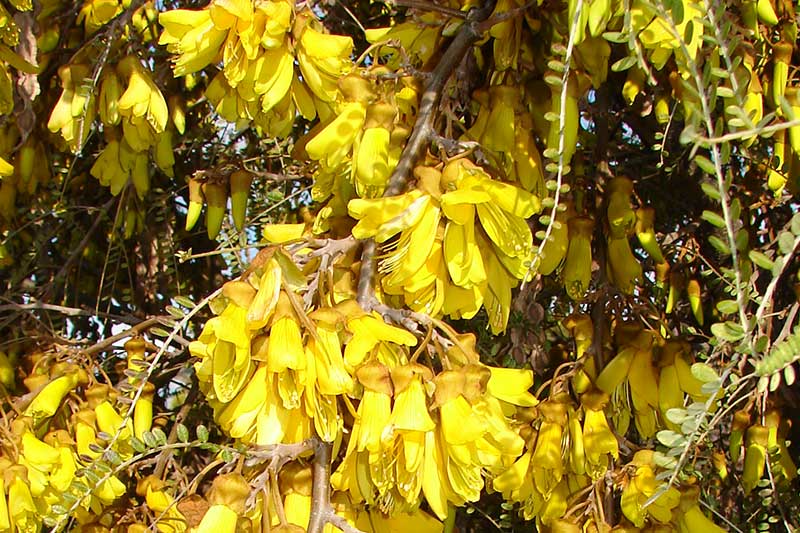
New Zealand alpine plants are truly special, offering a world of texture, colour, and form in a small space. Canterbury, in particular, boasts an especially diverse range of alpine species, thanks to its mountains, plains, and unique microclimates. Many of these plants have compact, sculptural shapes, from low-growing cushions and rosettes to spiky or tufted foliage, creating striking patterns in the garden. Their flowers are often small but vivid, with delicate pinks, whites, and purples that contrast beautifully with silver-grey, green, or bronze leaves. Beyond their blooms, the foliage itself is fascinating, sometimes soft and feathery, sometimes leathery or spiny, making every plant a point of interest. These hardy, adaptable plants bring a miniature alpine landscape into your garden, combining elegance, resilience, and the subtle drama of New Zealand’s high-country flora

Alpine plants like lots of water but need very well-drained soil, so their roots don’t sit in water. A sunny or partly sunny spot works best, and adding some rocks can give them shade and protection.

  • Make sure water drains well. Use coarse stones or gravel at the bottom of the garden to keep roots dry.
  • Add a mix of soil and stone chips. This helps plants grow while still letting water flow through.
  • Plant your alpine plants. Place bigger rocks around them for shade and structure.
  • Top with a layer of small stones. This keeps the soil in place and looks natural.

Yes!

Pre-planting site preparation is most beneficial.  Ensure you have your planting site as free of weeds or other competitive growth as possible.

Glyphosate herbicides (e.g. RoundupTM ) or other non-residual weed control sprays can be used right up until the day of planting, but best results will be achieved if the site has been sprayed at least 2-3 weeks before planting. This will also make the physical work of planting easier. The alternative if you don’t like using sprays is ‘blanking out’, chipping off the top layer to expose the soil beneath in a square approximately 50cm x 50cm. This is good for individual plants but for a larger area it may involve more work to prepare for planting.

  • Dig a hole which will give enough room to allow the roots of the plant to be spread out evenly without touching the sides of the hole (about twice the size of the root ball).
  • In heavy or clay soils, hole width is more important than depth.
  • If plants are tight around the roots when coming from a planter bag, it is generally a good idea to loosen the root ball and trim any very long roots back to avoid them circling.
  • Ensure the hole has adequate drainage.
  • On wet sites mound the tree up above the existing soil level.
  • If introducing new soil, compost or a planting mix ensure it is well mixed with the existing soil from the site.
  • If adding fertiliser make sure it is well mixed in with the soil that is going back into the hole and not put in a pile at the bottom.
  • Firm soil well around roots, without ramming so tight that root damage may occur.
  • Backfill to depth, just above the depth at which the tree was growing in the nursery. This will allow for subsequent natural consolidation.
  • After planting make sure soil is firmly packed to avoid plant movement or rocking which will inhibit new root development.
  • Water regularly during establishment period and subsequent dry spells. Remember not to overwater. In dryer areas sphagnum moss products can be used to retain moisture around root ball.
  • Mulching around the plant with a bark mulch 100mm thick will help with moisture retention and help keep down competing weeds. Be careful not to push directly up to main stem of the plant as it can cause rot.
  • After heavy winds check newly planted stock and firm up if necessary.
Scree-garden-tips